Vanilla Paste Recipe – Homemade Delicious Desserts
As a busy mom, I know how precious time can be, especially when it comes to whipping up something special in the kitchen. That’s why I’m excited to share my Vanilla Paste Recipe – Homemade Delicious Desserts! This simple yet delightful recipe transforms your everyday treats into something extraordinary. Imagine the rich, aromatic flavor of vanilla elevating your cakes, cookies, and puddings. It’s like a warm hug for your taste buds! Plus, making your own vanilla paste is a fantastic way to impress your loved ones without spending hours in the kitchen.
Why You’ll Love This Vanilla Paste Recipe
This Vanilla Paste Recipe is a game-changer for busy cooks like us! It’s incredibly easy to make, requiring just a few simple ingredients and minimal effort. Plus, the flavor is out of this world! You’ll find that homemade vanilla paste adds a depth of taste that store-bought versions simply can’t match. It’s a delightful way to elevate your desserts, making them feel special without the fuss.
Ingredients for Vanilla Paste Recipe
Gathering the right ingredients is the first step to creating your own homemade vanilla paste. Here’s what you’ll need:
- Vanilla Beans: These are the stars of the show! Their rich flavor and aroma are what make your desserts sing. Look for plump, moist beans for the best results.
- Vodka or Rum: This acts as the base for your vanilla paste. Vodka is neutral, while rum adds a hint of warmth. Choose what suits your taste!
- Sugar: This sweetener helps to balance the flavors and creates a lovely texture. You can use granulated sugar or even brown sugar for a deeper flavor.
Feel free to experiment with different types of alcohol or sweeteners based on your preferences. Just remember, the exact quantities are at the bottom of the article for easy printing!
How to Make Vanilla Paste Recipe
Now that you have your ingredients ready, let’s dive into the fun part—making your homemade vanilla paste! This process is straightforward and rewarding. Follow these simple steps, and soon you’ll have a jar of deliciousness to enhance your desserts.
Step 1: Combine Ingredients
Start by splitting the vanilla beans lengthwise. Use a sharp knife to scrape out the tiny seeds. Combine these seeds and the empty pods in a glass jar. Pour in your choice of vodka or rum. This is where the magic begins!
Step 2: Add Sugar
Next, add the sugar to the jar. This sweetener not only balances the flavors but also helps create that thick, paste-like consistency we love. Stir the mixture well to ensure the sugar dissolves and blends with the vanilla.
Step 3: Seal and Shake
Once everything is combined, seal the jar tightly. Give it a good shake! This helps mix all the ingredients thoroughly. It’s like a little dance party for your vanilla paste!
Step 4: Let It Sit
Now comes the hardest part—patience! Place the jar in a cool, dark spot and let it sit for at least two months. Shake it occasionally to keep the flavors mingling. The longer it sits, the richer the flavor becomes. Trust me, it’s worth the wait!
Step 5: Strain the Mixture
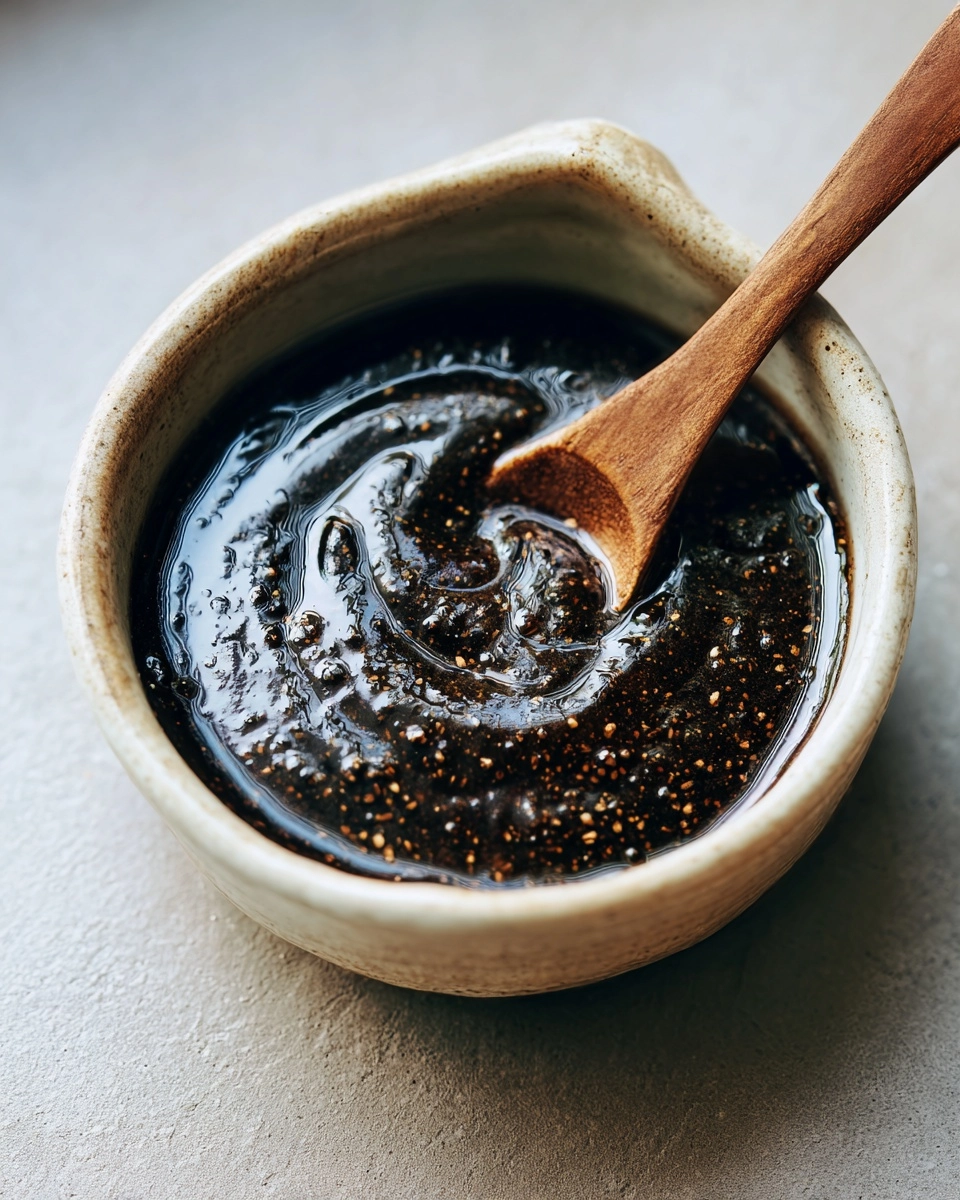
After two months, it’s time to strain your mixture. Use a fine mesh sieve or cheesecloth to remove the solids. This step ensures you have a smooth, luscious vanilla paste. You’ll be amazed at the aroma that fills your kitchen!
Step 6: Store the Vanilla Paste
Finally, transfer your vanilla paste to a clean bottle. Make sure to store it in a cool, dark place to maintain its flavor. And there you have it—your very own homemade vanilla paste, ready to elevate all your delicious desserts!
Tips for Success
- Use high-quality vanilla beans for the best flavor.
- Shake the jar every week to help the flavors develop.
- For a thicker paste, let it sit longer than two months.
- Label your jar with the date you started for easy tracking.
- Try using different spirits for unique flavor profiles.
Equipment Needed
- Glass Jar: A clean, airtight jar is essential. You can also use a mason jar for a rustic touch.
- Sharp Knife: A good knife is crucial for splitting the vanilla beans. A paring knife works well.
- Fine Mesh Sieve or Cheesecloth: This is needed for straining the mixture. A coffee filter can be a handy alternative.
Variations
- Chocolate Vanilla Paste: Add a tablespoon of cocoa powder to the mixture for a delightful chocolate twist.
- Spiced Vanilla Paste: Incorporate a cinnamon stick or a few cardamom pods during the steeping process for a warm, spiced flavor.
- Alcohol-Free Version: Substitute vodka or rum with vegetable glycerin or water for a non-alcoholic option.
- Maple Vanilla Paste: Replace sugar with pure maple syrup for a unique, earthy sweetness.
- Nutty Vanilla Paste: Add a few drops of almond extract to the mixture for a nutty flavor that pairs beautifully with desserts.
Serving Suggestions
- Drizzle your vanilla paste over fresh fruit for a simple yet elegant dessert.
- Mix it into whipped cream for a delightful topping on cakes or pies.
- Add a teaspoon to your morning coffee or hot chocolate for a cozy treat.
- Use it in homemade ice cream for a rich, creamy flavor.
- Pair with chocolate desserts for a classic flavor combination that never disappoints.
FAQs about Vanilla Paste Recipe
Can I use vanilla extract instead of vanilla paste?
Absolutely! While vanilla extract is a great substitute, homemade vanilla paste offers a richer flavor and texture. You can use it in any recipe that calls for vanilla extract, but remember that a little goes a long way!
How long does homemade vanilla paste last?
When stored properly in a cool, dark place, your homemade vanilla paste can last for years. The flavors will continue to develop over time, making it even more delicious!
Can I make vanilla paste without alcohol?
Yes! You can create an alcohol-free version by using vegetable glycerin or water. Just keep in mind that the flavor may differ slightly, but it will still be delightful!
What desserts can I use vanilla paste in?
The possibilities are endless! Use your vanilla paste in cakes, cookies, puddings, ice creams, and even savory dishes. It’s a versatile ingredient that enhances any recipe!
How do I know when my vanilla paste is ready?
Your vanilla paste is ready when it has a thick, syrupy consistency and a rich aroma. After two months, give it a taste test to see if the flavor is to your liking. If you want it stronger, let it sit longer!
Summarizing the Joy of Vanilla Paste Recipe
Creating your own vanilla paste is more than just a cooking project; it’s a delightful journey that fills your kitchen with warmth and nostalgia. Each step, from splitting the beans to shaking the jar, is a reminder of the love we pour into our desserts. The rich, aromatic flavor of homemade vanilla paste transforms ordinary treats into extraordinary delights. It’s a simple way to impress family and friends, making every dessert feel special. So, roll up your sleeves, embrace the process, and enjoy the sweet satisfaction of crafting something truly delicious!
PrintVanilla Paste Recipe for Irresistibly Delicious Desserts!
A simple and delicious recipe for homemade vanilla paste that enhances the flavor of your desserts.
- Prep Time: 15 minutes
- Cook Time: 0 minutes
- Total Time: 2 months
- Yield: 1 cup
- Category: Dessert
- Method: No-Cook
- Cuisine: American
- Diet: Vegetarian
Ingredients
- 1 cup vanilla beans, split and scraped
- 1 cup vodka or rum
- 1 cup sugar
Instructions
- Combine the split vanilla beans and their seeds with the vodka or rum in a glass jar.
- Add the sugar to the mixture and stir well.
- Seal the jar tightly and shake it to mix all the ingredients.
- Let the mixture sit in a cool, dark place for at least 2 months, shaking it occasionally.
- After 2 months, strain the mixture through a fine mesh sieve or cheesecloth to remove the solids.
- Transfer the vanilla paste to a clean bottle and store it in a cool, dark place.
Notes
- For a stronger flavor, let the paste sit for longer before using.
- This vanilla paste can be used in any recipe that calls for vanilla extract.
- Store the paste in a cool, dark place to maintain its flavor.