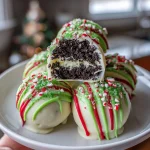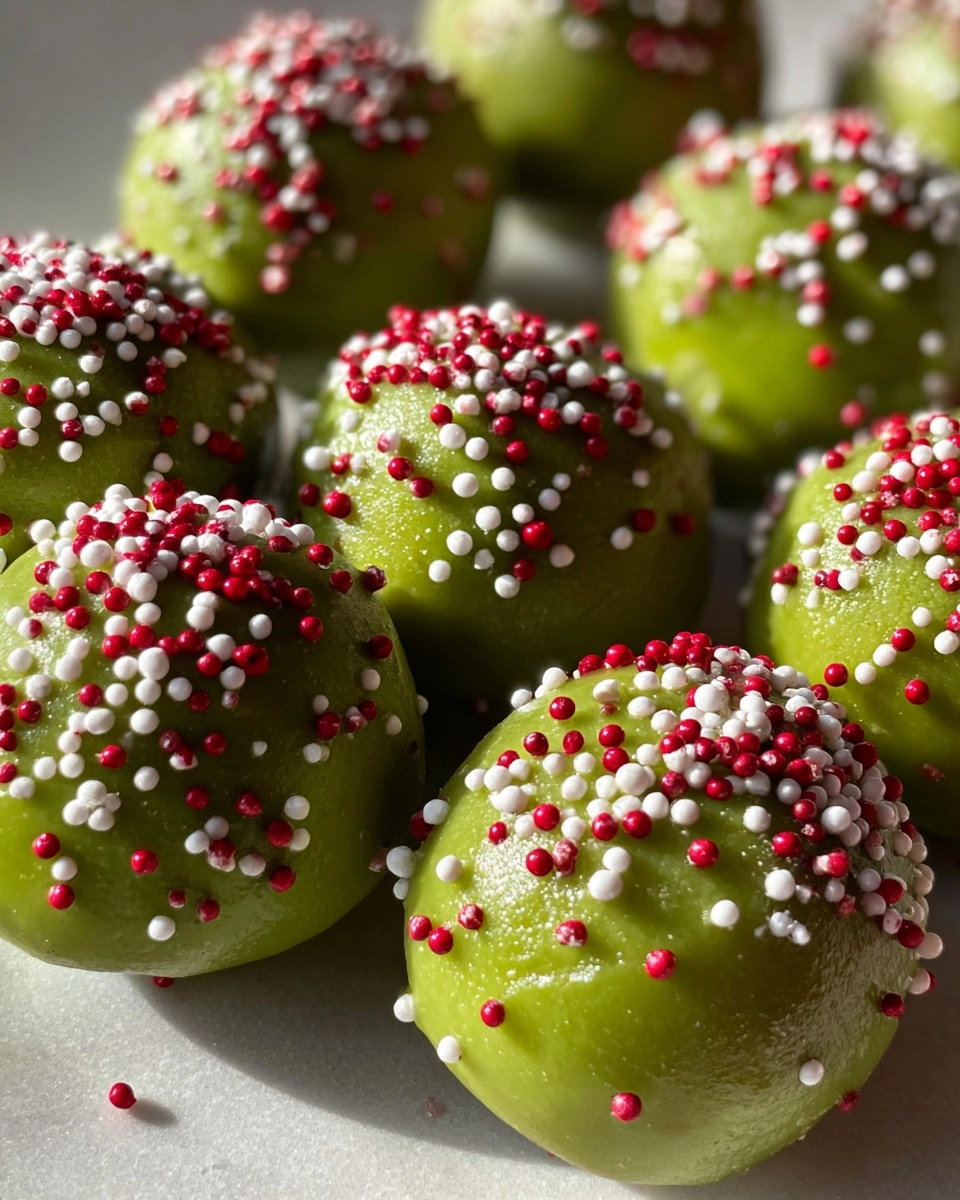
Grinch Cookie Balls
As the holiday season approaches, I find myself searching for quick and delightful treats that bring joy to my family. That’s where these Grinch Cookie Balls come in! They’re vibrant, festive, and oh-so-easy to whip up, making them the perfect solution for busy days filled with holiday hustle. Whether you’re hosting a gathering or just want to surprise your loved ones, these no-bake delights will surely impress. Plus, they’re a fun way to get the kids involved in the kitchen, creating sweet memories together. Let’s dive into this cheerful recipe!
Why You’ll Love This Grinch Cookie Balls
These Grinch Cookie Balls are a holiday miracle for busy moms and professionals alike. They require no baking, which means less time in the kitchen and more time enjoying the festivities. With just a handful of ingredients, you can create a treat that’s not only delicious but also visually stunning. Plus, the kids will love helping out, making it a delightful family activity that spreads holiday cheer!
Ingredients for Grinch Cookie Balls
Gathering the right ingredients is the first step to creating these festive Grinch Cookie Balls. Here’s what you’ll need:
- Crushed vanilla wafers: These provide a sweet, crunchy base. You can substitute with graham crackers if needed.
- Creamy peanut butter: This adds richness and binds the ingredients together. For a nut-free option, try sunflower seed butter.
- Powdered sugar: This sweetens the mixture and gives it a delightful texture. You can use coconut sugar for a healthier twist.
- Green candy melts: These are essential for that vibrant Grinch color. If you can’t find them, white chocolate dyed with green food coloring works too.
- Mini chocolate chips: These serve as the Grinch’s eyes, adding a fun touch. You can use any small chocolate pieces you have on hand.
- Red candy melts: Perfect for drizzling on top for decoration. Again, white chocolate with red food coloring is a great alternative.
For exact measurements, check the bottom of the article where you can find everything available for printing. Happy cooking!
How to Make Grinch Cookie Balls
Step 1: Mix the Base
Start by grabbing a large mixing bowl. Combine the crushed vanilla wafers, creamy peanut butter, and powdered sugar. I like to use a sturdy spatula to mix everything together. You want to ensure that the ingredients are well blended, creating a sticky, cohesive mixture. The sweet aroma of peanut butter will fill your kitchen, making it hard to resist tasting! This base is the heart of your Grinch Cookie Balls, so mix until it’s just right.
Step 2: Form the Cookie Balls
Once your mixture is ready, it’s time to get your hands a little messy! Scoop out small portions and roll them into balls, about the size of a tablespoon. Place each ball on a baking sheet lined with parchment paper. This step is where the fun begins! I often let my kids help with this part, and it’s a great way to bond while making holiday treats. Just make sure they’re evenly spaced for easy coating later.
Step 3: Melt the Green Candy
Now, let’s bring that Grinchy green color to life! In a microwave-safe bowl, add the green candy melts. Heat them in the microwave in 30-second intervals, stirring in between. This helps prevent burning. You want the candy to melt smoothly, creating a luscious coating for your cookie balls. The vibrant green will make your treats pop, adding to the festive spirit of the season!
Step 4: Coat the Cookie Balls
Once your green candy is melted and smooth, it’s time to dip! Take each cookie ball and carefully coat it in the melted green candy. I like to use a fork for this, allowing any excess candy to drip off. Make sure each ball is fully covered; this is what gives them that delightful Grinch look. Place the coated cookie balls back on the parchment-lined baking sheet, ready for the next step!
Step 5: Set the Cookie Balls
After coating, it’s important to let the cookie balls set. Simply place the baking sheet in a cool area or the refrigerator for a few minutes. This helps the candy coating harden, ensuring your Grinch Cookie Balls hold their shape. It’s a perfect time to clean up your workspace or sneak a taste of the leftover mixture!
Step 6: Decorate with Red Candy
Now for the fun part—decorating! Melt the red candy melts in a similar fashion as the green ones. Once melted, transfer the red candy to a piping bag or a plastic sandwich bag with a corner snipped off. Drizzle the red candy over the green cookie balls for a festive touch. This adds a pop of color and makes them look extra special. Your kitchen will smell like a holiday wonderland!
Step 7: Add the Eyes
Before the red candy sets, sprinkle mini chocolate chips on top of each cookie ball to create the Grinch’s eyes. This step is where your treats really come to life! The chocolate chips add a playful touch, making them look adorable. Plus, it’s a great way to get the kids involved again. They’ll love helping to give each Grinch Cookie Ball its unique personality!
Step 8: Chill Before Serving
Finally, it’s time to chill! Place the decorated cookie balls back in the refrigerator for at least 30 minutes. This helps everything set perfectly, ensuring a delightful bite every time. Once they’re ready, you can serve them at your holiday gatherings or pack them up as gifts. Trust me, everyone will be asking for the recipe!
Tips for Success
- Use a cookie scoop for even-sized balls; it makes the process quicker and neater.
- Let the melted candy cool slightly before dipping to avoid melting the cookie balls.
- Experiment with different colors of candy melts for a fun twist!
- Keep your workspace clean to make the decorating process easier.
- Don’t rush the chilling time; it helps the flavors meld beautifully.
Equipment Needed
- Mixing bowl: A large bowl for combining ingredients. A sturdy glass or ceramic bowl works well.
- Spatula: For mixing the cookie base. A wooden spoon can also do the trick.
- Baking sheet: To set the cookie balls. A plate can be used if you don’t have one.
- Parchment paper: For easy cleanup. Wax paper is a suitable alternative.
- Microwave-safe bowl: For melting candy. A heatproof glass bowl is perfect.
Variations
- For a chocolate twist, substitute half of the vanilla wafers with crushed chocolate cookies.
- Try using almond butter instead of peanut butter for a nutty flavor.
- Make them gluten-free by using gluten-free vanilla wafers or graham crackers.
- Add a sprinkle of sea salt on top for a sweet and salty combination.
- For a festive touch, incorporate crushed peppermint candies into the mixture or as a topping.
Serving Suggestions
- Pair these Grinch Cookie Balls with hot cocoa for a cozy treat.
- Serve them on a festive platter with holiday-themed decorations.
- Include a side of fresh fruit for a colorful contrast.
- Wrap them in clear bags tied with ribbons for delightful gifts.
- Set them out at holiday parties for a fun dessert table.
FAQs about Grinch Cookie Balls
Can I make Grinch Cookie Balls ahead of time?
Absolutely! These no-bake treats can be made a day or two in advance. Just store them in an airtight container in the refrigerator. They’ll stay fresh and delicious, ready to impress your guests!
What can I use instead of candy melts?
If you can’t find candy melts, don’t worry! You can use white chocolate chips dyed with food coloring. Just melt them down and follow the same coating process. It’s a great alternative that still looks festive!
How do I store leftover Grinch Cookie Balls?
Store any leftovers in an airtight container in the refrigerator. They’ll keep well for up to a week. Just make sure to separate layers with parchment paper to prevent sticking!
Can I customize the decorations?
Definitely! Feel free to get creative with your decorations. Use different colored candy melts, sprinkles, or even edible glitter to make your Grinch Cookie Balls uniquely yours!
Are Grinch Cookie Balls suitable for kids?
Yes! These treats are perfect for kids. They’re fun to make and eat, plus they’re nut-free if you use sunflower seed butter. Just keep an eye on the candy melts while melting, as they can get hot!
Summarizing the Joy of Grinch Cookie Balls
Making Grinch Cookie Balls is more than just a recipe; it’s a delightful experience that brings families together during the holiday season. The vibrant green color and playful decorations spark joy and laughter, creating lasting memories in the kitchen. As you roll the cookie balls and drizzle the candy, you’ll find yourself immersed in the festive spirit. These no-bake treats are not only easy to prepare but also a hit at gatherings. Whether enjoyed at home or gifted to loved ones, each bite is a reminder of the warmth and joy that the holidays bring. Happy baking!
PrintGrinch Cookie Balls: Delightful Treats for the Holidays!

Grinch Cookie Balls are festive, no-bake treats that capture the spirit of the holidays with their vibrant green color and delicious flavor.
- Prep Time: 20 minutes
- Cook Time: 0 minutes
- Total Time: 30 minutes
- Yield: 24 cookie balls
- Category: Dessert
- Method: No-Bake
- Cuisine: American
- Diet: Vegetarian
Ingredients
- 1 cup crushed vanilla wafers
- 1/2 cup creamy peanut butter
- 1/2 cup powdered sugar
- 1/4 cup green candy melts
- 1/4 cup mini chocolate chips
- 1/4 cup red candy melts
Instructions
- In a mixing bowl, combine crushed vanilla wafers, peanut butter, and powdered sugar until well mixed.
- Form the mixture into small balls and place them on a baking sheet lined with parchment paper.
- Melt the green candy melts in a microwave-safe bowl, stirring until smooth.
- Dip each cookie ball into the melted green candy, ensuring they are fully coated.
- Place the coated cookie balls back on the baking sheet to set.
- Melt the red candy melts and use a piping bag to drizzle them over the green cookie balls for decoration.
- Sprinkle mini chocolate chips on top as eyes before the candy coating sets.
- Refrigerate the cookie balls for at least 30 minutes before serving.
Notes
- Store in an airtight container in the refrigerator for up to a week.
- Feel free to customize the decorations with different colored melts or sprinkles.
- These cookie balls make great gifts during the holiday season!