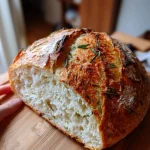
No-Knead Cinnamon Raisin Bread
There’s something magical about the aroma of freshly baked bread wafting through the house, isn’t there? This No-Knead Cinnamon Raisin Bread is my go-to recipe when I want to impress my family without spending hours in the kitchen. It’s perfect for busy days when you crave something warm and comforting, yet effortless to make. Just mix, let it rest, and bake! Trust me, your loved ones will think you’ve been slaving away in the kitchen, but it’ll be our little secret. Let’s dive into this delightful recipe that brings joy with every slice!
Why You’ll Love This No-Knead Cinnamon Raisin Bread
This No-Knead Cinnamon Raisin Bread is a game-changer for busy moms and professionals alike. It requires minimal effort, making it a breeze to whip up. The taste? Oh, it’s like a warm hug on a chilly day! With its soft texture and sweet cinnamon aroma, it’s sure to become a family favorite. Plus, the long resting time means you can set it and forget it, freeing up your day for other tasks.
Ingredients for No-Knead Cinnamon Raisin Bread
Gathering the right ingredients is the first step to creating your No-Knead Cinnamon Raisin Bread masterpiece. Here’s what you’ll need:
- All-purpose flour: The backbone of your bread, providing structure and a soft crumb.
- Salt: Enhances flavor and strengthens the dough, making every bite delicious.
- Instant yeast: This little powerhouse helps the dough rise without the need for kneading.
- Warm water: Activates the yeast and brings everything together into a shaggy dough.
- Raisins: Sweet little bursts of flavor that add a delightful chewiness to each slice.
- Ground cinnamon: The star spice that fills your kitchen with a cozy aroma and warms the soul.
- Sugar: Just a touch to balance the flavors and enhance the sweetness of the raisins.
Feel free to get creative! You can add nuts for crunch or swap out raisins for other dried fruits like cranberries or apricots. If you’re looking for a sweeter loaf, adjust the sugar to your taste. For exact measurements, check the bottom of the article where you can find everything ready for printing!
How to Make No-Knead Cinnamon Raisin Bread
Now that you have your ingredients ready, let’s get started on this delightful journey of making No-Knead Cinnamon Raisin Bread. I promise, it’s as easy as pie—well, easier than pie! Follow these simple steps, and you’ll have a warm loaf that will make your kitchen feel like a cozy bakery.
Step 1: Mix the Dry Ingredients
In a large bowl, combine the all-purpose flour, salt, and instant yeast. Stir them together until they’re well mixed. This is where the magic begins! The flour provides structure, while the salt and yeast work together to create that perfect rise.
Step 2: Add Warm Water
Next, pour in the warm water. Use a wooden spoon or spatula to stir until a shaggy dough forms. Don’t worry about it being perfect; it’s supposed to be a bit messy! The warm water activates the yeast, setting the stage for a fluffy loaf.
Step 3: Incorporate Raisins and Spices
Now, fold in the raisins, ground cinnamon, and sugar. Make sure they’re evenly distributed throughout the dough. This step is where the sweet aroma starts to fill your kitchen. The raisins add a lovely chewiness, while the cinnamon brings warmth and comfort.
Step 4: Let the Dough Rest
Cover the bowl with plastic wrap and let it rest at room temperature for 12-18 hours. Yes, you read that right! This long resting time allows the flavors to develop and the dough to rise without any kneading. It’s like giving your dough a little vacation!
Step 5: Shape the Dough
After the resting period, turn the dough out onto a floured surface. Gently shape it into a ball, being careful not to deflate it too much. This is where you can feel the soft texture of the dough. It’s like a fluffy cloud waiting to be baked!
Step 6: Second Rise
Place the shaped dough on a piece of parchment paper and cover it with a towel. Let it rise for another 1-2 hours. This second rise is crucial for achieving that perfect airy texture. You’ll notice it puffing up beautifully!
Step 7: Preheat the Oven
While the dough is rising, preheat your oven to 450°F (230°C). Place a Dutch oven inside to heat up. This step is essential for creating that crispy crust we all love. Just imagine the sound of that crust crackling as it bakes!
Step 8: Bake the Bread
Once preheated, carefully remove the Dutch oven. Lift the dough with the parchment paper and place it inside. Cover and bake for 30 minutes. Then, uncover and bake for an additional 15-20 minutes until it’s golden brown. The aroma will be irresistible, and your family will come running!
Tips for Success
- Use a kitchen scale for precise measurements, especially for flour.
- Let your dough rest in a warm spot for better rising.
- Experiment with different spices like nutmeg or cardamom for a unique twist.
- For a crustier loaf, place a pan of water in the oven while baking.
- Don’t rush the resting time; it’s key to flavor and texture!
Equipment Needed
- Large mixing bowl: Any bowl will do, but a sturdy one is best.
- Wooden spoon or spatula: For mixing; a fork works too!
- Parchment paper: Helps with easy transfer; you can use a silicone mat as an alternative.
- Dutch oven: Essential for baking; a heavy pot with a lid can substitute.
- Wire rack: For cooling; a plate can work in a pinch.
Variations
- Nutty Delight: Add chopped walnuts or pecans for a crunchy texture that complements the softness of the bread.
- Fruit Fusion: Swap raisins for dried cranberries, apricots, or even chopped dates for a different flavor profile.
- Spice It Up: Experiment with spices like nutmeg, cardamom, or ginger for a unique twist on the classic cinnamon flavor.
- Gluten-Free Option: Use a gluten-free all-purpose flour blend to make this recipe suitable for those with gluten sensitivities.
- Vegan Version: This recipe is already vegan-friendly, but you can enhance it with a splash of vanilla extract for added depth.
Serving Suggestions
- Enjoy warm slices with a pat of butter or a drizzle of honey for extra indulgence.
- Pair with a steaming cup of coffee or tea for a cozy breakfast or afternoon snack.
- Serve alongside fresh fruit or yogurt for a balanced meal.
- For a delightful presentation, dust with powdered sugar before serving.
FAQs about No-Knead Cinnamon Raisin Bread
As you embark on your No-Knead Cinnamon Raisin Bread journey, you might have a few questions. Here are some common queries I’ve encountered, along with helpful answers to guide you along the way.
Can I use whole wheat flour instead of all-purpose flour?
Absolutely! Whole wheat flour can be used, but it may result in a denser loaf. You might want to mix it with all-purpose flour for a lighter texture.
How do I store leftover bread?
Store your No-Knead Cinnamon Raisin Bread in an airtight container at room temperature. It stays fresh for a few days, but I bet it won’t last that long!
Can I freeze this bread?
Yes, you can freeze it! Just slice the bread and wrap it tightly in plastic wrap, then place it in a freezer bag. It’s perfect for those busy mornings when you need a quick breakfast.
What can I do if my dough doesn’t rise?
If your dough doesn’t rise, it might be due to inactive yeast. Make sure your yeast is fresh and that the water is warm, not hot. A little patience goes a long way!
Can I add more spices to the recipe?
Definitely! Feel free to experiment with spices like nutmeg or cardamom. Just remember, a little goes a long way, so start small and adjust to your taste!
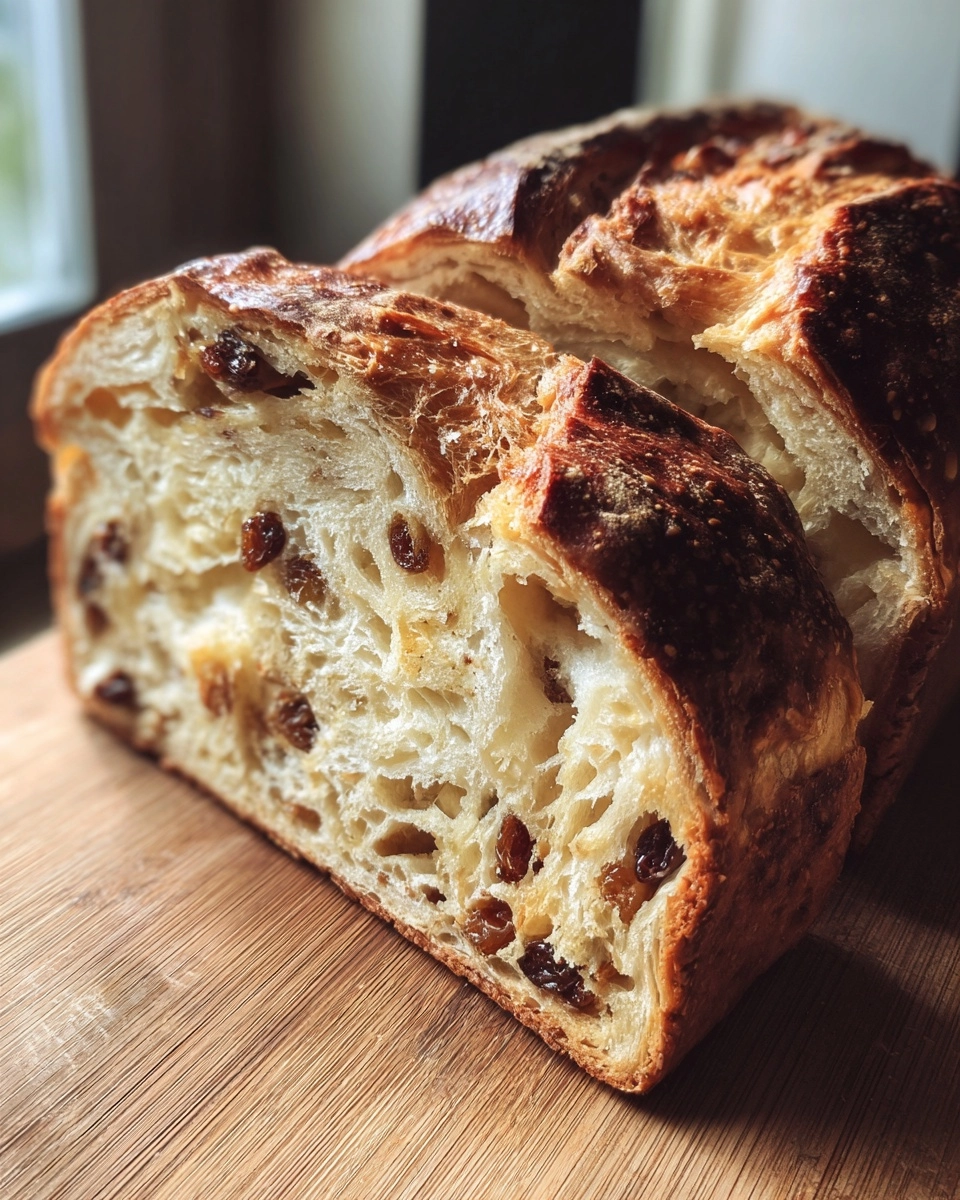
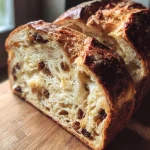
Summarizing the Joy of No-Knead Cinnamon Raisin Bread
There’s a special kind of joy that comes from baking your own bread, especially when it’s as simple as this No-Knead Cinnamon Raisin Bread. The anticipation builds as the dough rests, and the aroma fills your home, wrapping you in warmth. Each slice is a delightful blend of soft texture and sweet cinnamon flavor, perfect for sharing with loved ones. Whether it’s breakfast, a snack, or a cozy dessert, this bread brings people together. It’s not just about the bread; it’s about the memories created around the table, making every bite a cherished moment.
PrintNo-Knead Cinnamon Raisin Bread: Effortless Recipe Magic!
A simple and delicious recipe for No-Knead Cinnamon Raisin Bread that requires minimal effort and yields a soft, flavorful loaf.
- Prep Time: 15 minutes
- Cook Time: 45 minutes
- Total Time: 12-18 hours (including resting time)
- Yield: 1 loaf
- Category: Bread
- Method: Baking
- Cuisine: American
- Diet: Vegetarian
Ingredients
- 3 cups all-purpose flour
- 1 1/2 teaspoons salt
- 1/2 teaspoon instant yeast
- 1 1/2 cups warm water
- 1 cup raisins
- 1 tablespoon ground cinnamon
- 1 tablespoon sugar
Instructions
- In a large bowl, mix together the flour, salt, and instant yeast.
- Add the warm water and stir until a shaggy dough forms.
- Fold in the raisins, cinnamon, and sugar until evenly distributed.
- Cover the bowl with plastic wrap and let it rest at room temperature for 12-18 hours.
- After resting, turn the dough out onto a floured surface and shape it into a ball.
- Place the dough on a piece of parchment paper and cover it with a towel. Let it rise for another 1-2 hours.
- Preheat the oven to 450°F (230°C) and place a Dutch oven inside to heat up.
- Once preheated, carefully remove the Dutch oven, lift the dough with the parchment paper, and place it inside.
- Cover and bake for 30 minutes, then uncover and bake for an additional 15-20 minutes until golden brown.
- Remove from the oven and let cool on a wire rack before slicing.
Notes
- For a sweeter bread, increase the sugar to taste.
- Feel free to add nuts or other dried fruits for extra flavor.
- This bread is best enjoyed fresh but can be stored in an airtight container for a few days.